Photo event: Tamron Lifestyle and Snapshot Workshop

It seems like everywhere you turn nowadays, you're bound to spot some fellow with a dslr hanging around their neck. Clearly, big cameras are in in a huge way. So, really there is no shortage of aspiring photographers here in Kota Kinabalu, Sabah. Yet, for some reason, there is an absolute lack of photography-centric events being organised here, be they seminars, workshops, or fairs (such as the KLPF).

So, whenever one is organised for the photographer community here - well, let's just say that the response is more than warm! One such rare event was organised here just today. Sponsored by Futuromic, distributors of photographic gear, the Tamron Snapshot and Lifestlye Workshop was held at Upperstar Cafe in Kota Kinabalu. The speaker was Mr Foo Kok Kin, photographer extraordinaire and co-founder of the Photographers Society of Malaysia.

The whole event started with a brief hello from the the organisers, and right after it was the speaker, Mr Foo, sharing shots he took during his stay here while giving his comments. Then it was the practical session: go anywhere, take anything, and submit your best shot within an hour. The grand prize: a RM100 voucher courtesy of Futuromic.

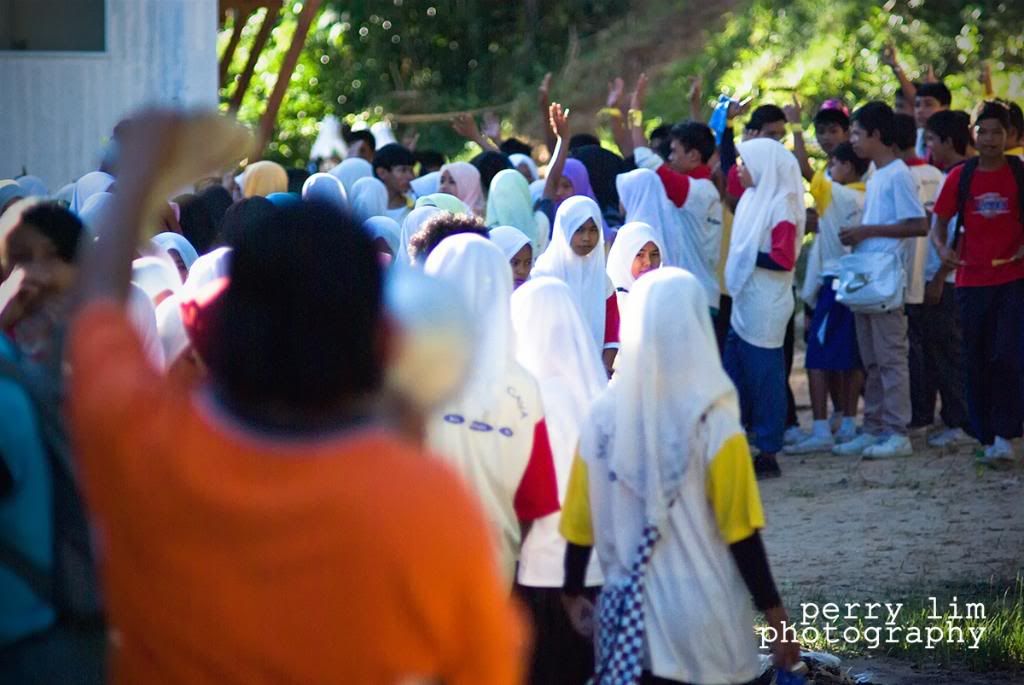
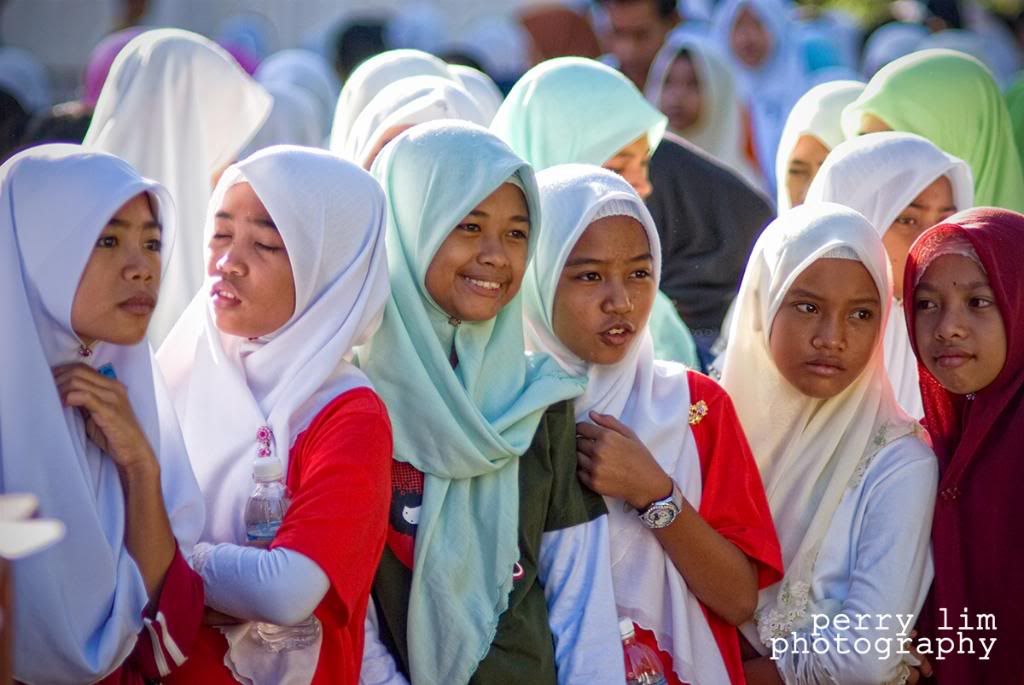
I didn't stray very far from the venue, taking shots of anything that caught my fancy. Shooting was the easy part; selecting the best was the hardest. I liked all of the shots and deciding on just one to submit took quite a bit of time. These were the final selections. All are straight out of the camera, with only resizing done on them:


One of the statuettes in Upperstar


Shutters of a shop next door


Spotted both these fellows waiting for someone/something


Regular patterns of apartment units (I think)


Another statuette in Upperstar

In the end, I submitted the Egyptian-esque shot as I liked the colour and the angle best...and that bagged me a consolation prize. Well, it's the first time my photo ever won anything so that was a rather good start! We were also 'poisoned' with some seriously mouth-watering photographic gear (of the lens variety), but I suppose what makes a photographer isn't the kit, but the one behind the lens. So, I'll stay satisfied with what I have now and expand my horizons just that bit longer.

All in all, I thought the workshop was fairly well organised. I only wished that there was a bit more deeper talk on the finer aspects of photography like developing the photographic eye, composition, lighting - but I guess, that's for a more serious (and more expensive) workshop.


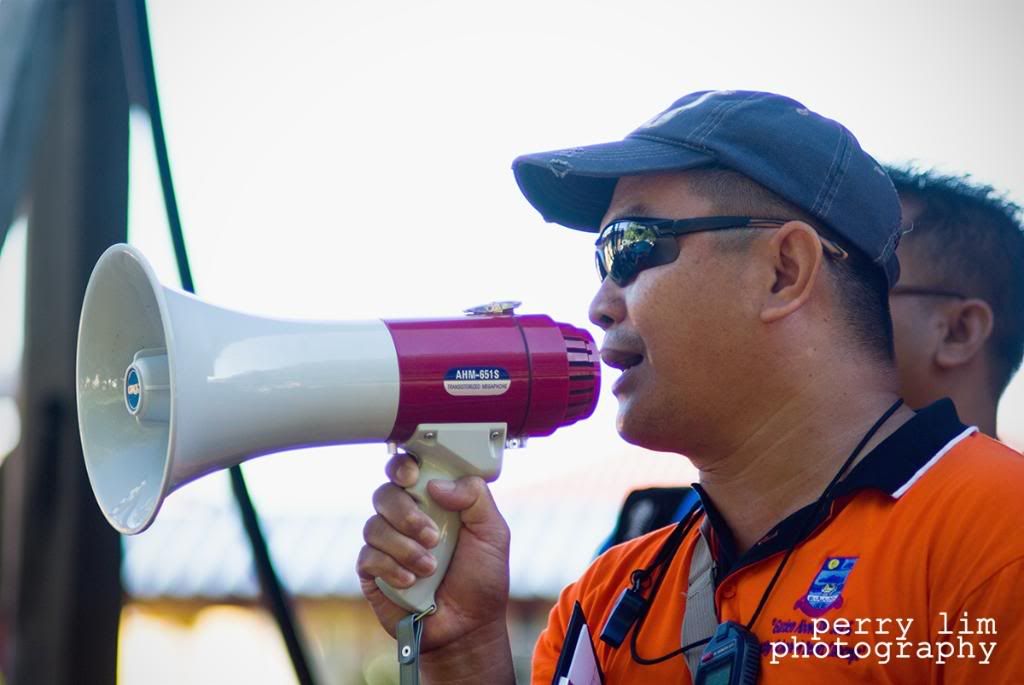
Crop! The speaker, Mr Foo, critiquing a photo

Destination Wedding: Trang, Thailand

Destination weddings seem to be all the rage these days, and why shouldn't they? You get the thrill and uniqueness of exchanging your vows at an exotic locale, and it may just be that little mini-vacation that you need to get away from it all. And of course, the wonderful scenery doesn't hurt as well.

Well, my sister-in-law had hers at Trang in Thailand at Anantara Si Kao Resort. It boasted spectacular views and dramatic sunsets, but alas the weather then wasn't very co-operative (see my previous post). But that didn't stop myself and another friend (who were the designated photographers for the whole event) from getting some incredible shots of the newly weds.

Here is a selection of a few of my favourites that I took on the day before the wedding and on the actual day.


The overcast skies allowed me to take this fantastic shot! Who says drabby weather can't help your photography?


Tim and Ann: OPO (One Photo Only)

Right.

This blog has been left unattended for over a month, but I have perfectly good reasons (that's many reasons, not one, mind you) for not updating. However, I shan't bore you with all that and only tell you what's relevant.

I have been busy editing photos that I took of my sister-in-law's wedding in Trang, Thailand recently and I am not quite finished yet. It's still a work in progress. The weather during the whole ceremony wasn't very co-operative. It was dark, cloudy and very windy, so shooting conditions weren't exactly ideal. The weather did clear up somewhat later on but natural light levels were still quite low and so, higher ISOs were the order of the day. Having said that, however, I still managed to get shots which I am quite proud of.

Here's one in a more controlled environment: an air-conditioned room. :)

Updates: Photo links

It's taken a bit of time, but I've finally updated one of the links that you see at the top of the page. Photo links is basically a resource page for the learning photographer (which just about includes every one of us!).

I've found all these websites immensely helpful in photography education. They are about as close as you can get without having your own personal tutor. But, of course merely reading through these websites won't automatically make you a better photographer, in the end it's all about the application of knowledge, and willing yourself to step outside your comfort zone and be willing to devote the time and energy to experiment - with your camera, with your lighting, and do things that you won't normally do. You'll be surprised at what you can achieve sometimes.

But, you've still got to start somewhere, and these websites will turn you in the right direction. Be prepared to learn! Click the Photo Links heading now!

Photo Essay: Sutera Harbour 7K Charity Run 2009

This is only my second time joining this annual charity event with first in 2001 which was the inaugural run. But, unlike then I didn't manage to finish the whole circuit within the 77 minute time limit, probably due to me being distracted by always keeping a look-out for some interesting photo opportunities.

So, because of that I've learned that in order to get acceptable pictures, you either stick to just photographing the event, or if you intend to run, stick to running only. Do both, and you'll end up getting not much of anything...which was what I got.

The event was fun. Nothing like running-walking with a whole bunch of people together. It all adds to the very upbeat atmosphere. These are some pictures that I did manage to get in my half-run, half-taking-photo mode.


We were treated to a glorious, if a bit hazy, sunset during the run.


Check-point people: All playing their part to make the event a success.


Emergency services ever ready to offer free rides to the finish line. :)


Refill station: The most popular spot during the whole circuit.


International flavour at the run.


Work those legs, but mine didn't!


A fun family event.

A Family Portrait

In my post yesterday, I said that I was going for a photoshoot with my cousin Alvin to take some pictures of a family. Well, we did it! A lot of things went well with the shoot, and I'm pretty happy with some of the shots. Here are the things that stood out:
  1. The weather was just splendid! The past few days saw rain, rain and more rain. So, the main worry was that it might just rain this morning. Thank God, it didn't. The sky was quite quite cloudy (perfectly diffused if not non-directional lighting) and later on the sun managed to peek out a bit.
  2. The family members (Dr. Paream and her husband - whom I've forgotten the name! - and their two kids, Ashvin and Ashlin) were such good sports. They humoured the both us and did everything we asked them. Of course, Alvin did the ice-breaking and started the ball rolling, and did most of the cajoling!
  3. Some of my "errors" turned out to be wonderful experiments in photo-editing and the results I think were just brilliant!
Now, you can view the other photos of this shoot at Alvin's blog, but here's three from me. Thanks to Dr. Paream for a wonderful time, and thanks too Alvin for giving me this opportunity.


The pic above and the pic below were the "errors".
But I guess in the end they turned out quite well, no?


The family in full-colour glory!

A shoot

Tomorrow will be an interesting day of sorts for me. I'm going out early in the morning for a shoot with another photographer, my cousin, Alvin. I've never shot together with another photographer before so, this will be something new for me. Another one is that this will be a family portrait shoot. So, that means we'll be directing people on how they should stand, where they should go, how they should arrange themselves, etc.

I must say this is one area where I have the least experience in . I've shot people countless of times, but not many (in fact, I count less than five) where I actually have to communicate with them. I'm more a silent-shooter kind of guy. So, since my cousin has the more experience in this area, I'm just going to follow his lead.

This is going to be interesting.

Photo Project: Multiple Exposure

You probably already know this, but multiple exposure is simply a technique of taking several shots on the same plane. So, what you get is two or more shots all rolled into one. Although this technique can easily be done in photoshop, there's nothing like the satisfaction you get when you actually think out your shot, experiment, and through trial-and-error nail a perfectly acceptable shot.

That's what I did. I had ready a simple setup: a single flash mounted on a tripod that was attached to a radio trigger, my camera on another tripod, and for the black background, a piece of black mounting board stuck to the wall behind me with blu-tack. I setup my camera to do multiple exposures, made sure my flash was ready, and I was good to go.

The most difficult part was getting myself in just the right position so that I was spread equally throughout the frame. I tried several poses for this technique, some of which didn't quite work out the way I expected it but at least now I know that there are some things that just won't work with this technique. Here is the shot that I think was the best for the effort I put in.

Tip: If you intend to try a similar one, try to mark out (or at the very least, make a mental note of) where you stand so that you can make the necessary adjustments quickly. To shoot, you can either call a friend to help press the shutter, or simply use your camera's timer.


Settings: ISO200, 1/90s at f16, flash at 1/16 power at 45 degrees right of camera.

Photo Project: Painting with light

One of the best things about having an SLR camera is the absolute flexibility it gives in getting creative with your shots. Sure, the more advance prosumer cameras on the market today are almost equalling the slr camera in terms of functionality and even quality, but still, with the added bonus of changing lenses to suit your photographic needs, the slr still can't be beat.

Just now, I embarked on another of my photography projects. This time, it has to do with painting with light. The term "painting with light" basically means leaving the shutter open for long periods and then, using some light source, make patterns or shapes that are eventually captured on the camera sensor.

I must admit, this is my first serious attempt at this, and let's just say it is going to be something that I may well be coming back to time and again. The possibilities are just endless, only being limited by your creativity - or perhaps your artistic ability.

What's needed for this shot: Shutter release (though not essential if your exposures are less than 30s as you can use your camera's timer to release the shutter), a torchlight, and a flash.

Here's how I did it:
  1. I framed the shot with the lights on, and focused.
  2. Dial in the camera settings: 30s at f/19.
  3. I pictured in my mind's eye what I planned to draw and switched off the lights.
  4. Give some time for your eyes to adjust to the darkness (mine was almost complete darkness), and then trip the shutter.
  5. Start drawing, switching off your torch at the end of every completed shape.
  6. Fire your flash.
And after all that, you should get something like this:


ISO100, f/19, 30s, flash fired with test button

Enjoy experimenting!

Photographing sunsets


I absolutely love sunsets, especially beautiful sunsets. And in a place like Kota Kinabalu, there's no shortage of them throughout the year. So, for us here, or in Malaysia for that matter, a very popular subject for photography is sunsets.

One thing I've noticed about sunsets is that I've never seen any two sunsets alike. Every time, when it's time for the sun to go down, the sky turns a different hue , and every time, it's unlike any that I've ever seen. I don't assume to have seen every single setting sun here, but the ones that I have seen are just that - each unique in their own way.

But, the trouble about capturing sunsets with your camera is that it is quite tricky to get the right exposure. You see a gorgeous scene unfolding right before you, you take your camera but what comes out is far short of the beauty you saw just moments before. So, what do you do? A few quick tips:

1. Bracket your shots - Most dslrs nowadays have automatic bracketing (where you set your camera to take the same shot with different exposures). This almost guarantees that one of the shots will be close to what you actually see.

2. Get stable - Use a tripod. Sure, it's still very bright and you may handhold your camera furing those times when the sun is still above the horizon, but once it dips, it can dark pretty quickly. So, keep your tripod handy and use it during that time because the colours as the sky gets dark can be equally spectacular.

3. Change your white balance - Instead of leaving your white balance on auto, try setting it to shade or cloudy. What this does is that it will make your shots warmer, recreating that wonderful golden hue the sun gives during this "magical hour".

Hopefully, with those tips you'll get to capture those gorgeous sunsets on camera just like you saw them with your very own eyes.


1/180s, f/19, Aperture Priority

Photo Project: Water Sculptures

Okay. After getting the jolt of inspiration from the website I told you about in my previous post, I decided to try my hand at something I've never done before. I know that this kind of thing has been done to the death by many others, and probably with much better results. The only thing I can say is, this is my take on a very popular theme.

The setup took some time as I couldn't decide which lens to use, which flash power setting to use, what aperture to use, and what shutter speed to use (this is my first time at this sort of thing, remember?). Anyway, once that was sorted out, then came the toughest part: timing.

I'm not sure how many shots I took, but I can say that it was a lot! But, the end result was worth every bit of patience. For the backgrounds that you see in the photos, they were merely plastic folders, blue and black.

If you decide to try this yourself, here's a tip: make sure your room is a bit dim. It allows you to see the flash better and you can actually tell whether you got the shot or not. It also helps you in getting your timing right.

Here are the fruits of my labour. This are the best picks of the bunch in my opinion.

Hope you enjoy them!


Flash fired straight on


Flash fired straight on


Flash fired at 90 degrees right


Flash fired straight on

All photos were shot using the following setup:
Flash @ 1/128 power, 70-300 with extension tubes at f/16, 1/180 shutter speed.

Inspiration

Yes, I know...

I've neglected this blog for almost half a year now. But, there's good reason (two good reasons, actually!) now to update it:

Number 1
I've been thinking about changing the whole look of this blog so that it looks more, er, 'presentable'. I found the previous template a bit too plain, and I find this new one much more appealing to my taste. But, as you can see with all the empty links around the page, I'm still in the midst of resurrecting this whole site. So, bear with me.

Number 2
I've recently acquired a couple of those ebay flash triggers and I've begun experimenting a bit more with flash photography. I've been reading up quite a bit on this and a good resource is the website Strobist. There are tons of information on that website and the best thing is that they're all for free. Head on there if you haven't already done so, and you might just learn more than a thing or two about lighting.

Using some of the knowledge gained, I actually did a self portrait yesterday with a two-light set up and I must say I was quite pleased with the results. However, I'm not posting it up here cos the picture's a bit too embarrassing for the whole world to see. I wasn't exactly dressed up properly for the whole experiment.

Number 3
From the said Strobist website, I got to know about another photographer, Dustin Diaz, and I'm inspired. He's currently doing a 365 project and so far, all his photos look just great. And in case you want to replicate his technique, he's got all the information you're going to need to set up just like he did - complete with diagrams!

So, here's to a new beginning for this blog, and a rush of new wonderful ideas and photography.


Shooting data: 0.5s, f/22, ISO100

Another low-light opportunity

These are some shots I took during the pre-Chinese New Year event organised by the Kota Kinabalu City Hall this evening. I brought along my small tripod just in case there were some shots which required it but it turned out I had no need for it. Well, at least it wasn't heavy.

All the performances were done on stage and most were by school children. The lights were the usual colourful stage lights, and though there were moments of dim lighting, in general I'd say the lights were bright enough for general shooting. But even then, I still had to occasionally push my ISO to 800 even when shooting at f/2.8. Having become more comfortable with my 135mm and more confident with the focusing, I decided to use it throughout. All were shot using available light, and while there were quite a number of less than well executed shots, I'm quite pleased with the shots I did manage to get.

Here are the picks of the bunch. Let me know which do you think is the shot of the night. See if I agree with you! :)


Photo Essay: The Cross-country Race

The school in which I teach at had their cross-country race today, and I was the designated photographer. Ain't that great? I decided to use this opportunity to get lots of practice with my 135mm prime lens. I'm really starting to grow on this lens. I like it because for the focal length, I get f/2.8, which I really like. And the bokeh is quite nice, too! The only downside is that it takes a bit more time to focus as it's a manual focus lens, but I still enjoy using it. So, most of the shots below were shot with this lens. The only other lens I used was the kit 18-55mm lens for it's wider angle.

There'll be 18 shots in all. It's gonna take a while to load!


Rounding up the students


Get ready here, not there!

Amusement


Over-seeing the final preparations


Briefing


All ears


The starting line


Running fashion


The warm-up


Waiting for the word


Release!


The way to do it


Going for it


All heated up

Light speed


Winners' table


Tired but done


Keeping score
 
ss_blog_claim=5b747ea34e513b121a74ecf8c956234f