Showing posts with label projects. Show all posts

Photo Project: Multiple Exposure

You probably already know this, but multiple exposure is simply a technique of taking several shots on the same plane. So, what you get is two or more shots all rolled into one. Although this technique can easily be done in photoshop, there's nothing like the satisfaction you get when you actually think out your shot, experiment, and through trial-and-error nail a perfectly acceptable shot.

That's what I did. I had ready a simple setup: a single flash mounted on a tripod that was attached to a radio trigger, my camera on another tripod, and for the black background, a piece of black mounting board stuck to the wall behind me with blu-tack. I setup my camera to do multiple exposures, made sure my flash was ready, and I was good to go.

The most difficult part was getting myself in just the right position so that I was spread equally throughout the frame. I tried several poses for this technique, some of which didn't quite work out the way I expected it but at least now I know that there are some things that just won't work with this technique. Here is the shot that I think was the best for the effort I put in.

Tip: If you intend to try a similar one, try to mark out (or at the very least, make a mental note of) where you stand so that you can make the necessary adjustments quickly. To shoot, you can either call a friend to help press the shutter, or simply use your camera's timer.
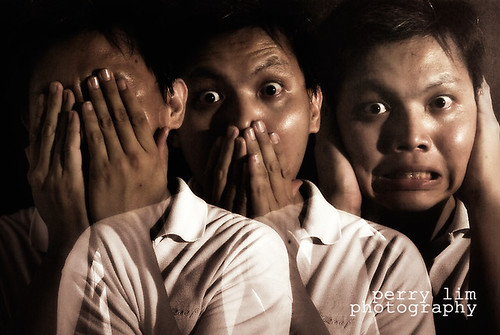

Settings: ISO200, 1/90s at f16, flash at 1/16 power at 45 degrees right of camera.

Photo Project: Water Sculptures

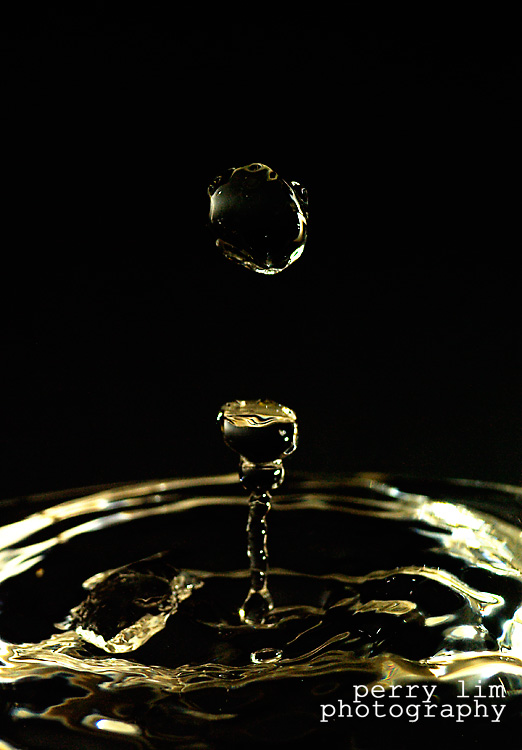
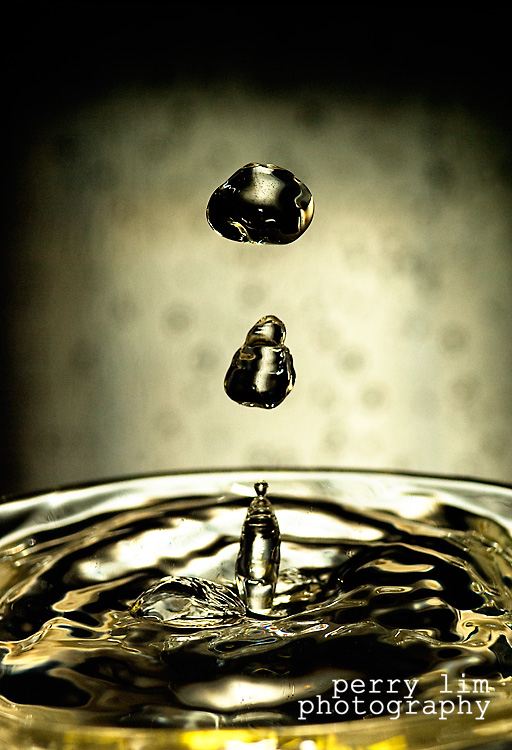
Okay. After getting the jolt of inspiration from the website I told you about in my previous post, I decided to try my hand at something I've never done before. I know that this kind of thing has been done to the death by many others, and probably with much better results. The only thing I can say is, this is my take on a very popular theme.

The setup took some time as I couldn't decide which lens to use, which flash power setting to use, what aperture to use, and what shutter speed to use (this is my first time at this sort of thing, remember?). Anyway, once that was sorted out, then came the toughest part: timing.

I'm not sure how many shots I took, but I can say that it was a lot! But, the end result was worth every bit of patience. For the backgrounds that you see in the photos, they were merely plastic folders, blue and black.

If you decide to try this yourself, here's a tip: make sure your room is a bit dim. It allows you to see the flash better and you can actually tell whether you got the shot or not. It also helps you in getting your timing right.

Here are the fruits of my labour. This are the best picks of the bunch in my opinion.

Hope you enjoy them!


Flash fired straight on


Flash fired straight on


Flash fired at 90 degrees right


Flash fired straight on

All photos were shot using the following setup:
Flash @ 1/128 power, 70-300 with extension tubes at f/16, 1/180 shutter speed.
 
ss_blog_claim=5b747ea34e513b121a74ecf8c956234f